Installing Windows Home Server
Date Published: 13 November 2008

In a classic case of ensuring the barn door is closed after the animals have all left, I bought an HP MediaSmart EX470 Home Server last week for home backup purposes, and it arrived today. I decided to take a few pictures and generally document the experience. Scott Hanselman did a (probably much more thorough) writeup last year.
First Impressions
This thing ships and unpacks like an appliance more so than a computer. The box is pretty and designed for retail, as opposed to the generic brown Dell boxes I typically get when I mail order computers. Inside, it's well packaged, shrink wrapped, with a security sticker that, if nothing else, seems to indicate that it hasn't been previously opened (or if it has, they rewrapped and restickered it). After unboxing it, my first impression was "Wow, this thing is small!". In all of the pictures I've seen, it's always had the general proportions of a mini-tower, and so I'd kind of gotten it in my head that it was that size. The box it comes in is about that size too, but (shockingly) the unit itself is nowhere near as large as the box. I took a few pictures to make this clear, with my phone, a monitor, and a mouse in there for scale (note that the BB Pearl phone is pretty darn small).
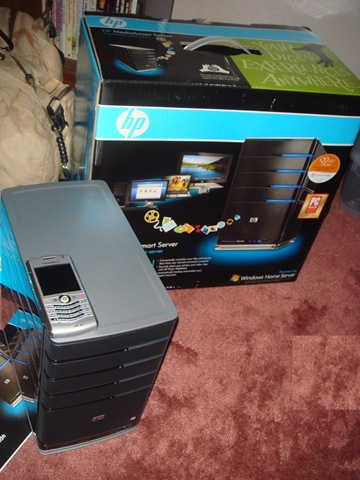
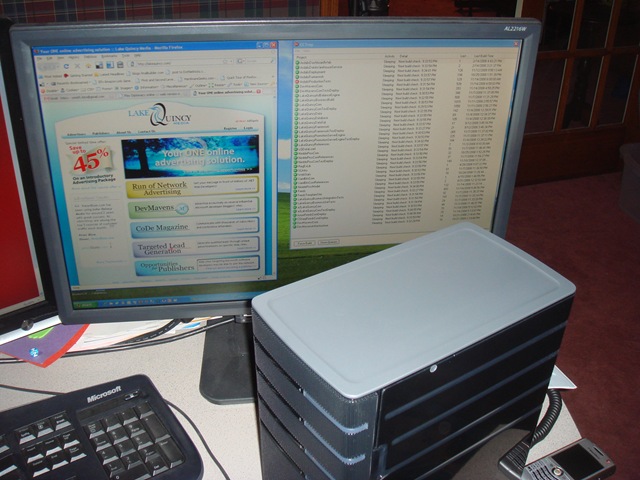
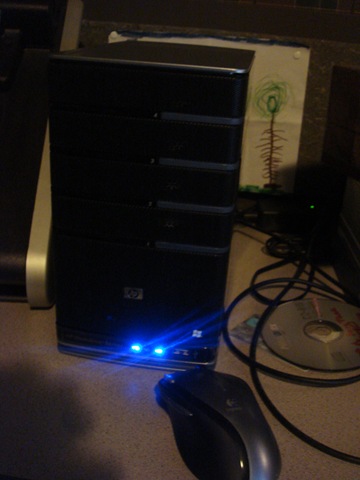
Of course part of why it's so small is that it has even fewer peripherals included than a Macbook Air. There's no DVD/CD drive, and not even a video output. It's go a bunch of USB ports, though (3 in the back, one in the front), an eSATA port (in the back), and an Ethernet port (in the back).
Setup
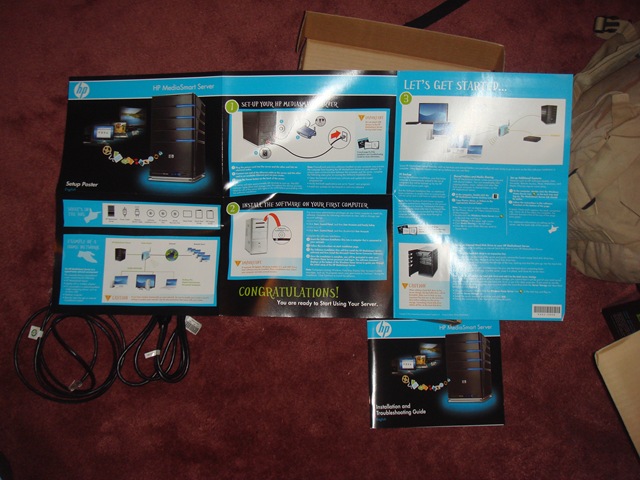
The MediaSmart Server comes with a nice poster (like most PCs these days…) explaining what needs done to set it up. It's pretty simple, and goes something like this:
- Plug it in.
- Turn it on.
- Install software on another computer.
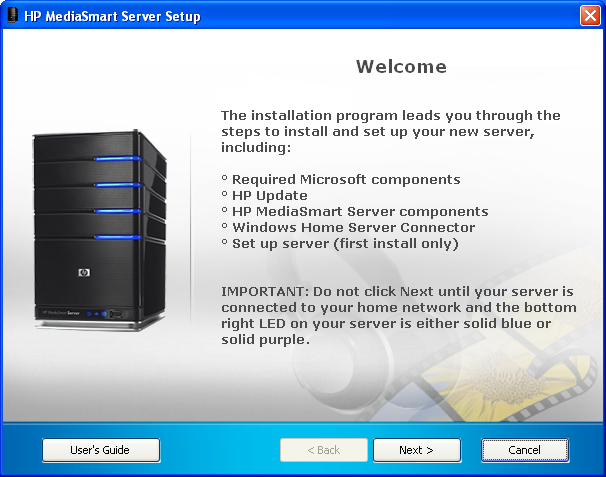
At that point, you start going through the HP MediaSmart Server Setup wizard, the first screen of which is shown at right. After ensuring the correct LED is lit on the server (bottom right LED is solid blue or solid purple), clicking next yields the obligatory EULA screen (not shown). Accepting this (after reading it in its entirely, naturally), leads on to the Ready to install screen (also not shown). From here, your best option is to click "Install" if you want to proceed…
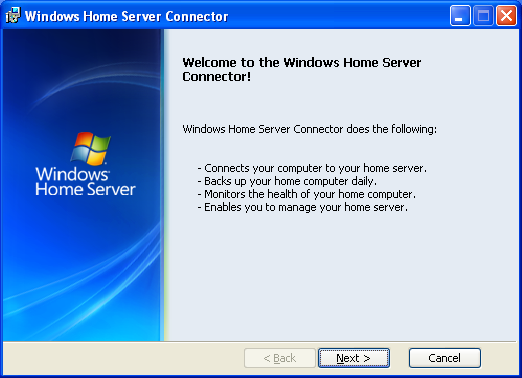
This installs .NET Framework 2.0 and HP Updater, and then leads into the Windows Home Server Connector installer (shown here). This is the client program that allows you to manage your home server and to back up your home computer to the home server. Assuming everything works, the connector should find your Home Server and let you begin customizing it.
I should note that so far I'm about 15 minutes into this process from the time I opened the box. And that includes finding my camera and writing up to this point in this blog post. So, it's not a major time investment (so far) to get set up.
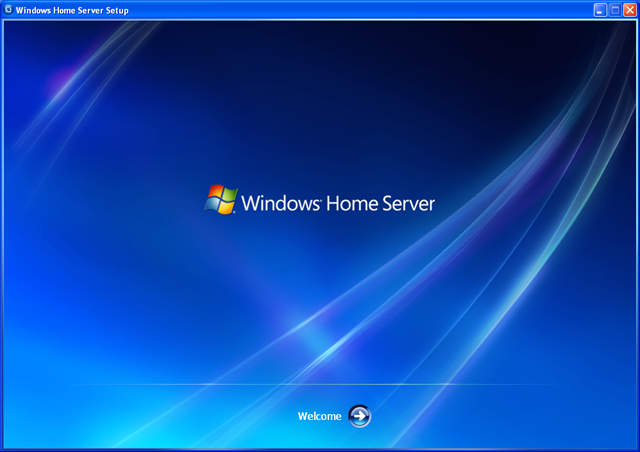
Windows Home Server's start screen looks a lot like Vista's, perhaps combined with Media Center. A screenshot is shown at right. I like the simplicity of the initial interface. It's certainly much more user friendly than, say, a Windows Server MMC interface with a massive treeview and loads of different modal windows. I'm pretty sure I want to click that arrow next to Welcome… next (and I haven't even read the help files…).
Uh oh, this might kill what I just said about the time requirement. Initialization "could take up to a few hours depending on your hardware". Oh, nevermind. Done. That took about a minute. I was going to grab a screenshot but it was too quick.
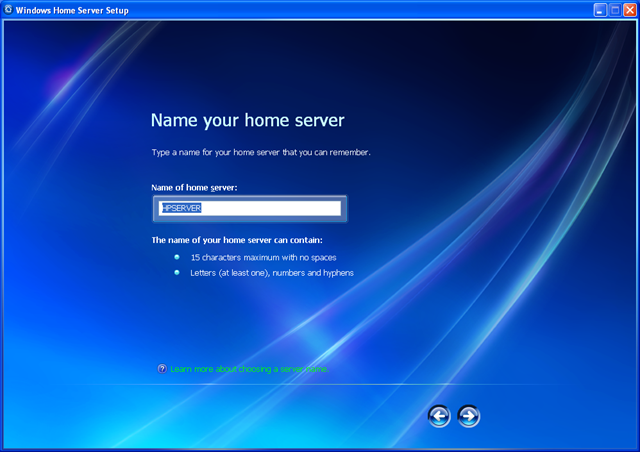
Now you can name the machine. 15 characters maximum, no spaces, and letters, numbers, and hyphens are allowed. You can get all creative, or just go with "HPSERVER" for your machine's name. If your WiFi at your house comes up as "LINKSYS" then it's probably best you not stretch your imagination too much.
Once you've settled on a name, it's time for a password, confirmation of same, and some kind of hint. I recommend not using anybody in your house's name (including yours) and that the hint not actually be the password, but that's just me. You're required to choose a password that is at least 7 characters long and includes characters from at least 3 of the following sets: uppercase letters, lowercase letters, numbers, and symbols. Something like 1qaz@WSX would pass this test, but I don't recommend it since it's now on somebody's blog.
Next step (and we're approaching 30 minutes now) is to opt for automatic Windows Update downloads (or not). I'm going to go with On (recommended) for the auto updates. Likewise, you can opt into the Customer Experience Improvement Program which will help Microsoft improve WHS. I'm all for that. And next up is Windows Error Reporting, which is similar to the last one but apparently not so close that they could combine it into one dialog. Sure, send my errors to Redmond.
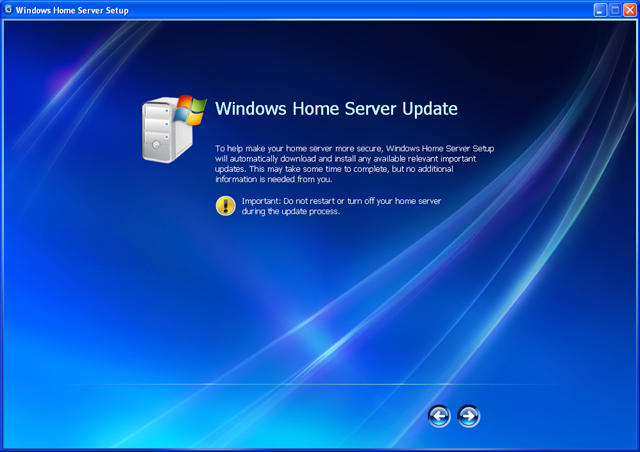
Now it's time to let it update itself for the first time. With Vista this might take hours and several reboots. Fingers crossed on WHS… Starting at 10:25 pm (about 30 minutes into this whole affair).
…and it's done at 10:33pm (8 minutes).
Ready to log in – the first time it just asks for the password you provided earlier.
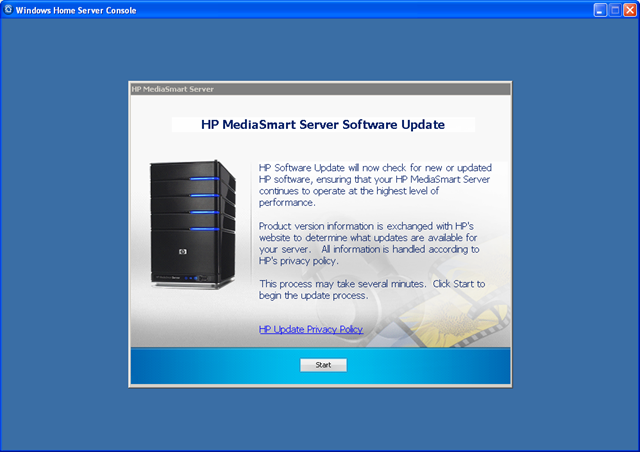
Of course the first thing it wants to do now is run HP MediaSmart Server Software Update, so we'll see how long that takes… Starting at 10:35.
…and it's done by 10:38. It actually only took about a minute – I didn't realize it was going to be so quick!
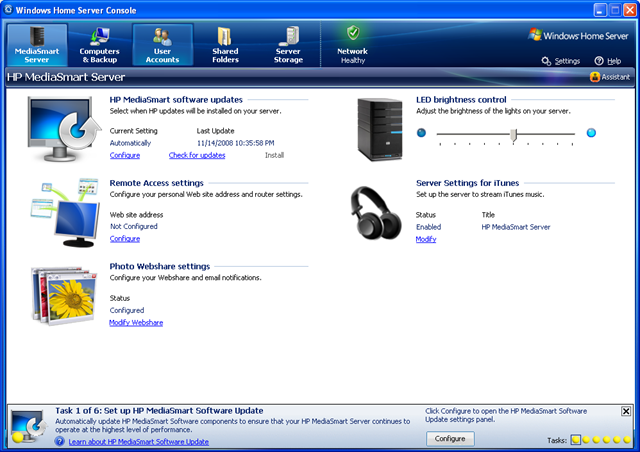
Now we're into the actual WHS software and ready to go. I'll leave the rest for another blog post, perhaps, and will end with a final screenshot and the total time from opening the box: about 40 minutes.
Tags - Browse all tags
Category - Browse all categories

About Ardalis
Software Architect
Steve is an experienced software architect and trainer, focusing on code quality and Domain-Driven Design with .NET.
